Stellar Quest Live 5: Soroban - Hello World
Stellar Quest Live 5: Soroban
Stellar Quest Live 5: Soroban - Introduction
- Stellar Quest Live 5: Soroban - Hello World
Stellar Quest Live 5: Soroban - Auth Store
Like in every introduction of beginner programming educational resource, there isn't any perfect start but a Hello World. Let's pull that up!
TL;DR
$ sq login
$ sq pull
$ sq play 1
$ sq fund <Public Key>
$ make build
$ soroban deploy --wasm target/wasm32-unknown-unknown/release/soroban_hello_world_contract.wasm
$ soroban invoke --id <CONTRACT_ID> --fn hello --arg <ARGUMENT>
$ sq check1
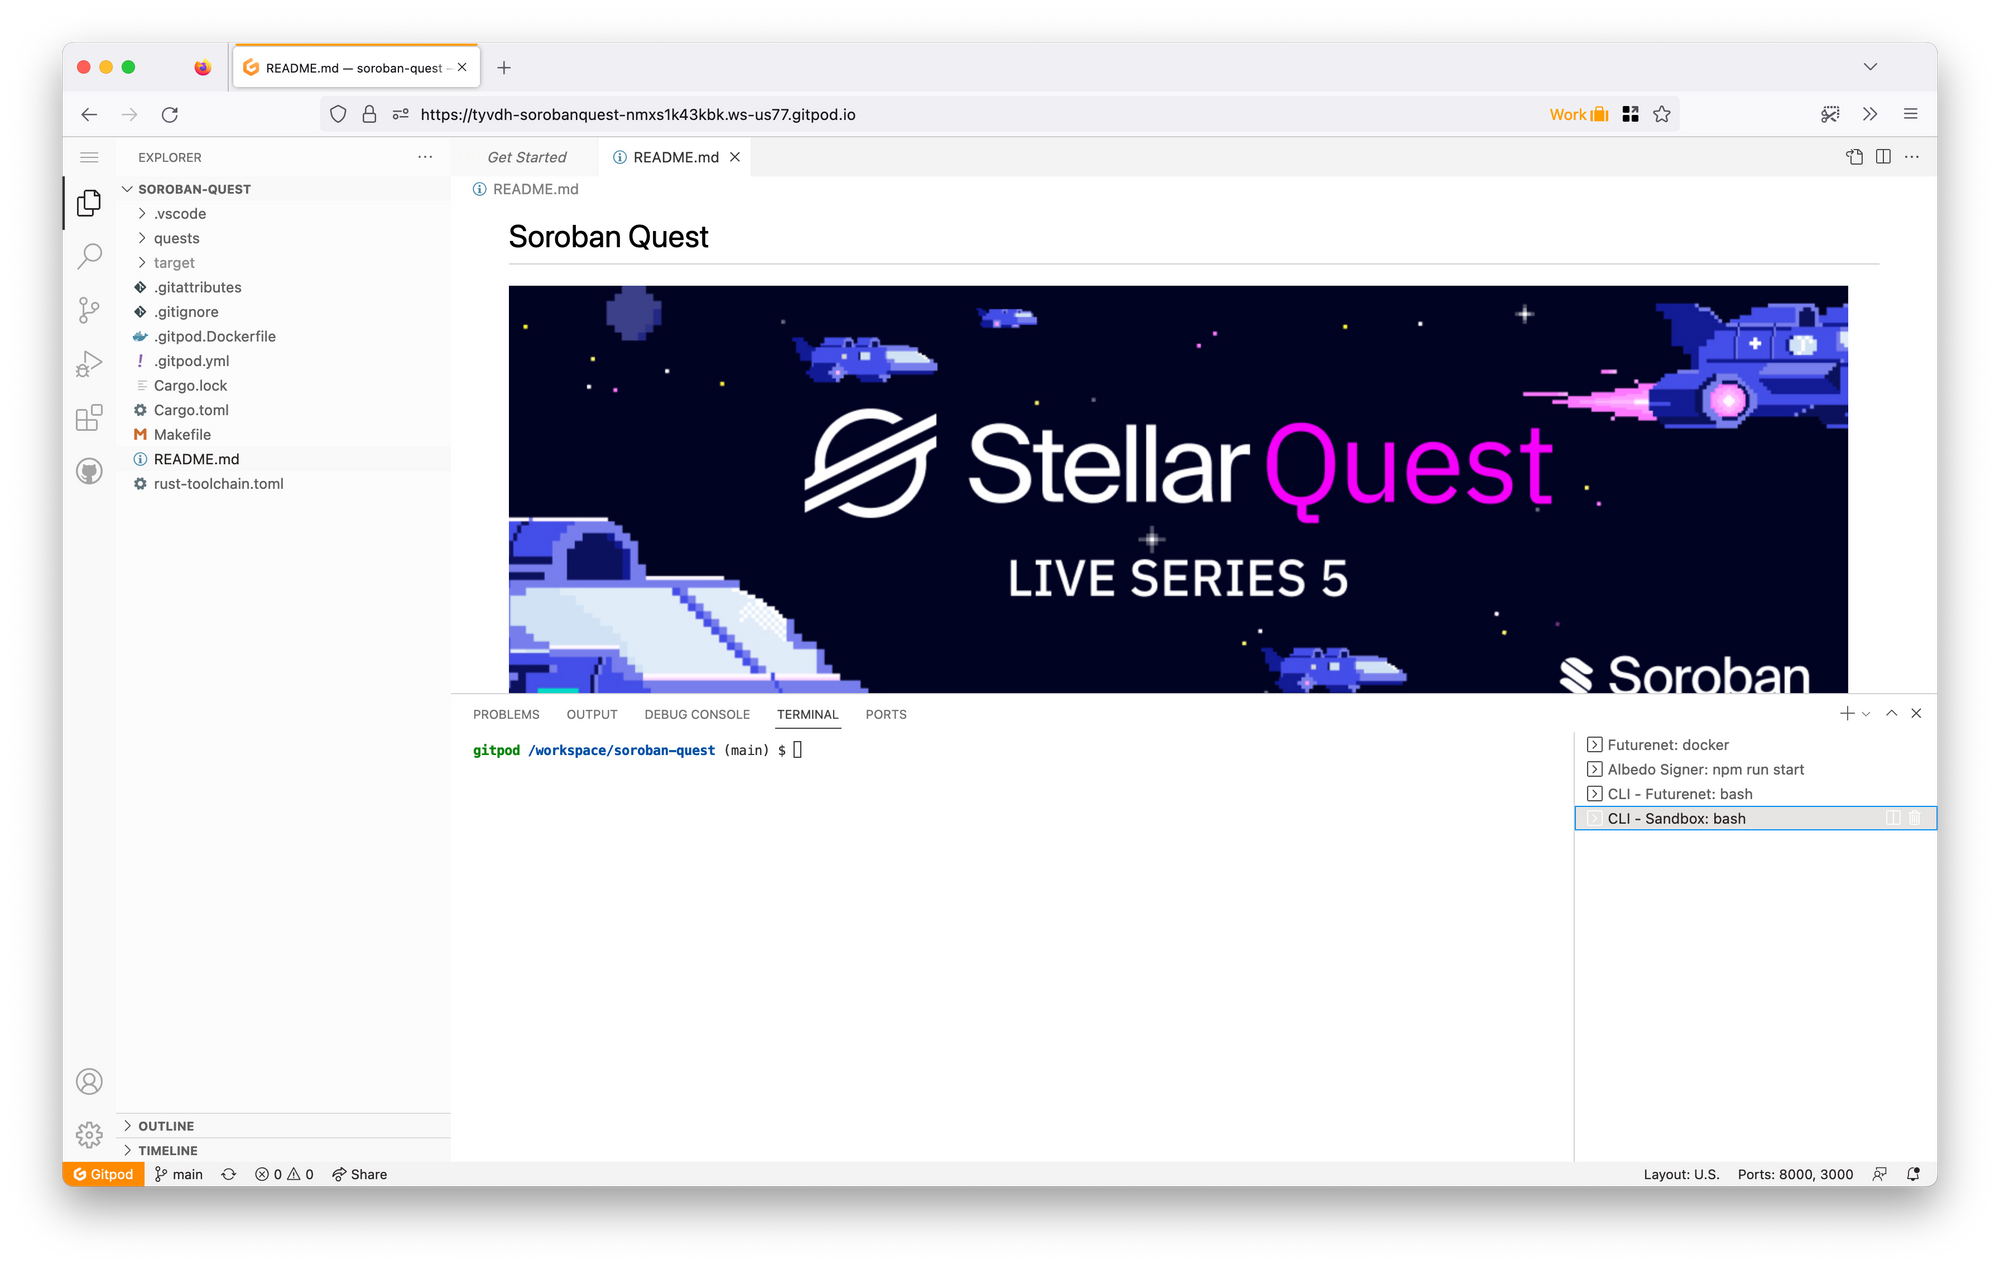
Opening up Gitpod
In every quest the Gitpod environment is fixed, so you only need to have the main link to the quest, there you can do quest-related things directly within Gitpod.
You can find the Gitpod link at https://quest.stellar.org/live or at the code repository (https://github.com/tyvdh/soroban-quest). To make it simple, just click the below link directly to open the environment.

As a side note, the Soroban Quest repository GitHub link above is where all the environment configuration relies on. In case you want to take a peek about how it works, every Gitpod configuration that makes the environment ready to go is available right there.
Account Set Up
On the terminal window shell make sure you are on "CLI - Futurenet: bash", and then proceed by connecting the quest account with squirtle.
If this is your first start, you are required to connect your Discord account to play the quest. Just follow the step of the given command.
$ sq login
$ sq user
Playing the quest
First of all, make sure you are running sq pull to check whether there is a new quest or not. Over quests/* folder, you will see any available quest to play.
To start it off, use command sq play [index]
$ sq play 1You will be greeted with a quest keypair that you will be using to finish off the quest. Make sure you fund it with sq fund [Public Key] or choose the option that will do it automatically.
Tackling The Quest
It is necessary to comprehend what the readme.md file suggests and inspects any available code like lib.rs or test.rs. There will be complete information regarding how to complete the quest.
For example, below are the tl;dr snippet about what you need to do:
It indicates that we need to deploy and invoke the hello world contract using the the given quest account/keypair on Futurenet network. So, if we look deeper into lib.rs there aren't any further things we need to do!
To complete it, we can use soroban-cli to invoke and deploy the contract. But, we need to build the contract first.
Building the smart contract
To build the smart contract, we need to use a specific command to compile the contract in a WebAssembly format, you can specifically build the intended contract within its folder using cargo or we also can use build it with make.
A. cargo build
On the terminal, go to the current quest directory to build the current contract
$ cd quests/1-hello-world/
/workspace/soroban-quest/quests/1-hello-world $ cargo build --target wasm32-unknown-unknown --release
After it is done compiling, it will show this output
 Compiling soroban-hello-world-contract v0.0.0 (/workspace/soroban-quest/quests/1-hello-world)
    Finished release [optimized] target(s) in 22.56s
The cargo build command is used to build our smart contract, we also specify --target wasm32-unknown-unknown to compile our program(smart contract) into WebAssembly(wasm32) for any architecture(unknown-unknown). Lastly, the --release profile parameter is used to optimize our program so that it does not exceed the maximum size amount of Soroban contract.
As of today writings, the current quest environment does not ship with makefile. To compile the contract from the main directory of /workspace/soroban-quest, use
$ cargo build --manifest-path=quests/1-hello-world/Cargo.toml --target wasm32-unknown-unknown --releaseB. make build
As a reference, we also can type out the cargo build command directly at the root directory, but it will compile the whole quest that currently available on the environment. That happen because Cargo.toml already configured to include the whole quest with Cargo Workspace.
Make sure we are at the directory of /workspace/soroban-quest, since makefile already configured we can directly type it out the command instead of the full command that includes parameters.
$ make buildIf we take a look at Makefile, it already specifies the intended configuration.
build:
	cargo build --target wasm32-unknown-unknown --release
After we have done building using either option, the file result available at target/wasm32-unknown-unknown/release/soroban_hello_world_contract.wasm
Deploy the Contract
And now is the part where soroban-cli comes in handy, to deploy our compiled contract into Futurenet netwok, we can use the command:
soroban deploy --wasm <WASM> --secret-key <SECRET_KEY> --network-passphrase <NETWORK_PASSPHRASE> --rpc-url <RPC_URL>
soroban deploy \
    --wasm target/wasm32-unknown-unknown/release/soroban_hello_world_contract.wasm \
    --secret-key [Secret Key] \
    --rpc-url http://localhost:8000/soroban/rpc \
    --network-passphrase 'Test SDF Future Network ; October 2022'
As you can see, we are giving 4 argument, here is the snippet of what it does.
$ soroban deploy --help
soroban-deploy
Deploy a WASM file as a contract

USAGE:
    soroban deploy [OPTIONS] --wasm <WASM>

OPTIONS:
        --wasm <WASM>    WASM file to deploy

OPTIONS (RPC):
        --secret-key <SECRET_KEY>
            Secret 'S' key used to sign the transaction sent to the rpc server [env:
            SOROBAN_SECRET_KEY=]
        --rpc-url <RPC_URL>
            RPC server endpoint [env: SOROBAN_RPC_URL=]

        --network-passphrase <NETWORK_PASSPHRASE>
            Network passphrase to sign the transaction sent to the rpc server [env:
            SOROBAN_NETWORK_PASSPHRASE=]
Fortunately, our Gitpod environment have set up those last 3 argument on the CLI - Futurenet bash environment variables automatically.
$ echo $SOROBAN_RPC_URL
http://127.0.0.1:8000/soroban/rpc
$ echo $SOROBAN_NETWORK_PASSPHRASE
Test SDF Future Network ; October 2022
$ echo $SOROBAN_SECRET_KEY
SCVRMTT5GTXUS4DJDV4WP6IJUCFVQBMNYOI2G4GM42XR72M6MIOFIN67
So we can simply deploy it with:
$ soroban deploy --wasm target/wasm32-unknown-unknown/release/soroban_hello_world_contract.wasmIf it deployed succesfully, the output of the command will return the CONTRACT_ID.
success
8b473ec5ee974d1ddf6e19424f5610d1fed453c89e4dc66b0b457dbb8d0840c2
Invoke the contract
Similar with the deployment command approach, invoking a contract require some arguments to be passed,
soroban invoke --id <CONTRACT_ID> --fn <FUNCTION> --arg <ARGUMENT> --secret-key <SECRET_KEY> --network-passphrase <NETWORK_PASSPHRASE> --rpc-url <RPC_URL>CONTRACT_ID is the deployed contract id that we going to invoke from the last step. FUNCTION is the function of the smart contract itself that we are going to interact, and ARGUMENT is the parameter of the FUNCTION.
With that in mind, the comand is as follow:
$ soroban invoke --id 8b473ec5ee974d1ddf6e19424f5610d1fed453c89e4dc66b0b457dbb8d0840c2 --fn hello --arg wibi
success
["Hello","wibi"]
Do in mind that, the expected parameter is Symbol (https://docs.rs/soroban-sdk/latest/soroban_sdk/struct.Symbol.html). If you hover over the Symbol code within lib.rs you will see a snippet of documentation of the struct.
For example, if you are passing more than ten characters or an invalid parameter, the contract won't run.
$ soroban invoke --id 8b473ec5ee974d1ddf6e19424f5610d1fed453c89e4dc66b0b457dbb8d0840c2 --fn hello --arg MoreThanTenCharacter
error: parsing argument MoreThanTenCharacter: parse error: value is not parseable to type
$ soroban invoke --id 8b473ec5ee974d1ddf6e19424f5610d1fed453c89e4dc66b0b457dbb8d0840c2 --fn hello --arg %
error: transaction simulation failed: HostError
Value: Status(HostValueError(UnknownError))Finishing up the Quest
If we are done with what we should do, it is best to check it out using squirtle to see if the answer is indeed the correct one.
$ sq check 1
🎉 Correct! 🧠
That is it. Let's continue to the next one!